
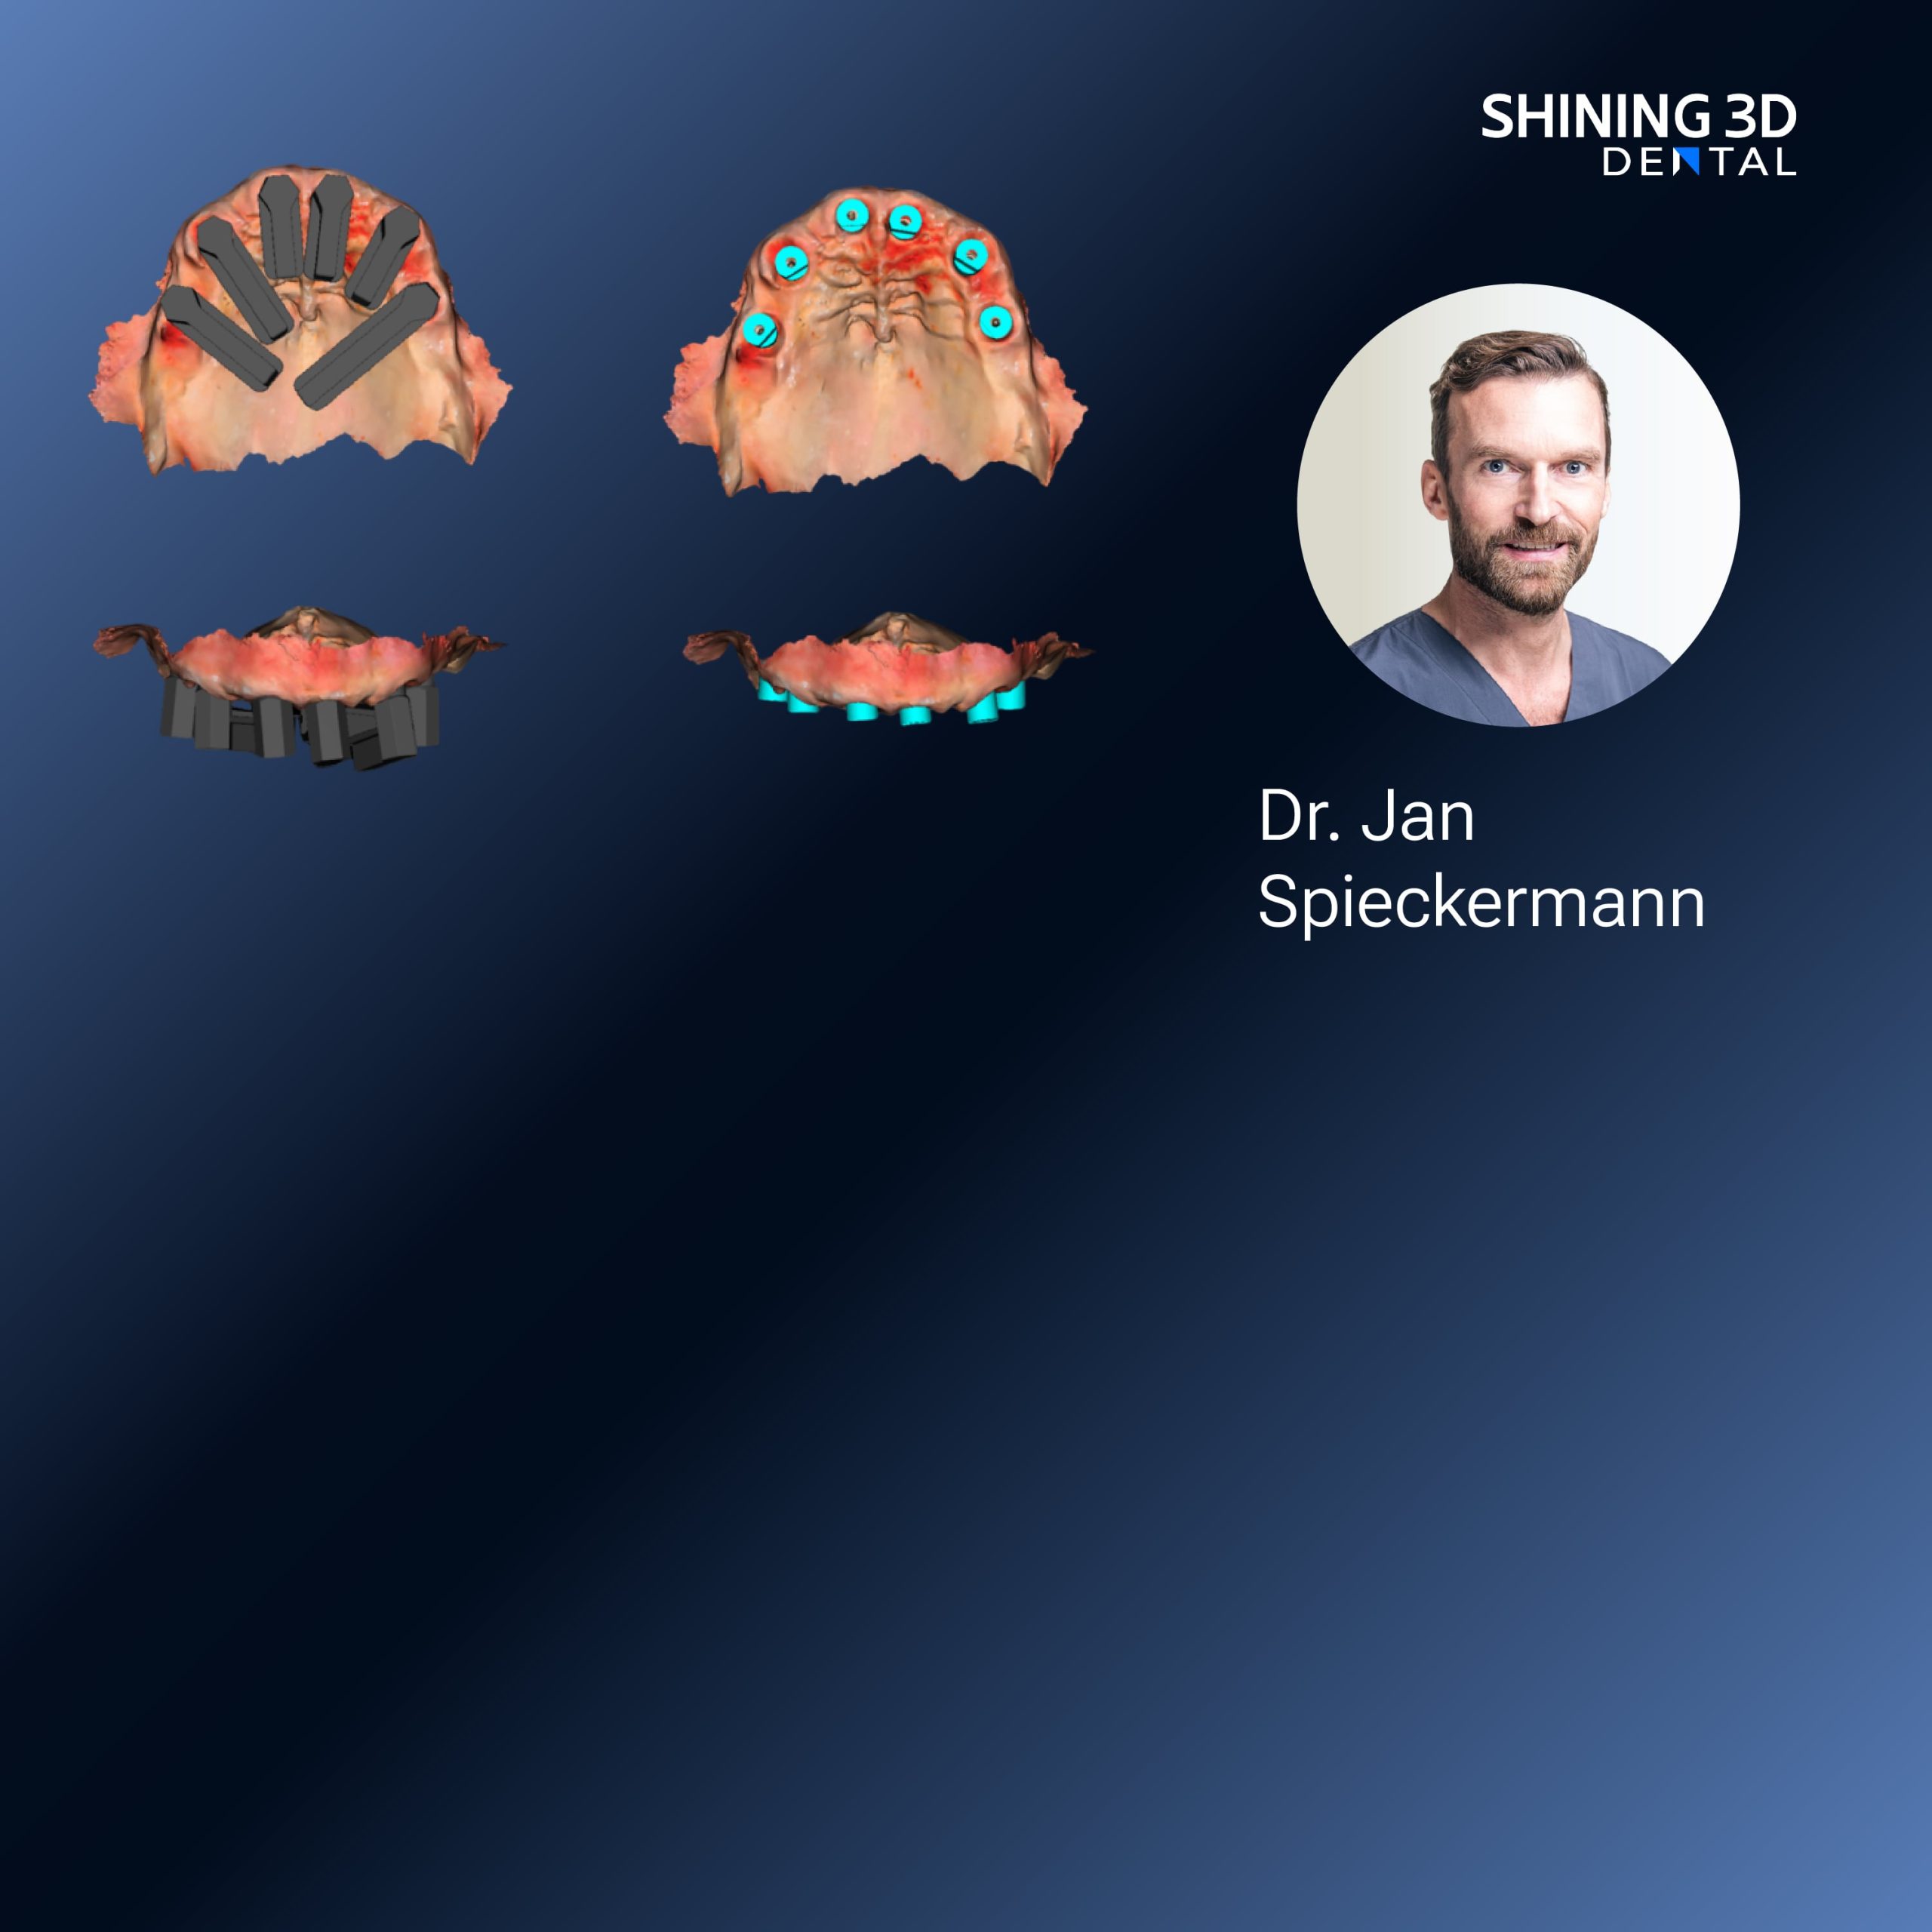
Quick comparison, clear choice
When you decide between an intraoral scanner and photogrammetry for denture cases, think about what matters most: tissue fidelity, workflow speed, and predictable fit. I write from many chairside and lab sessions across the region, and technicians often close the loop with a dental resin 3d printer to validate designs fast. This piece compares the tools directly so you can match method to case without guessing.
Accuracy and what each method captures
Intraoral scanners read soft tissues in one continuous sweep. That helps with vestibules, frenula, and border detail when the patient cooperates. Photogrammetry maps many photos into a single high-detail 3D model; it shines with rigid references and full-arch prostheses because it can stitch large views with high resolution. For edentulous arches, photogrammetry often needs extra markers or a stable reference to keep accuracy. For dentate partials, intraoral scanning gives consistent dentition geometry and occlusal relationships with fewer steps.
Workflow speed and lab integration
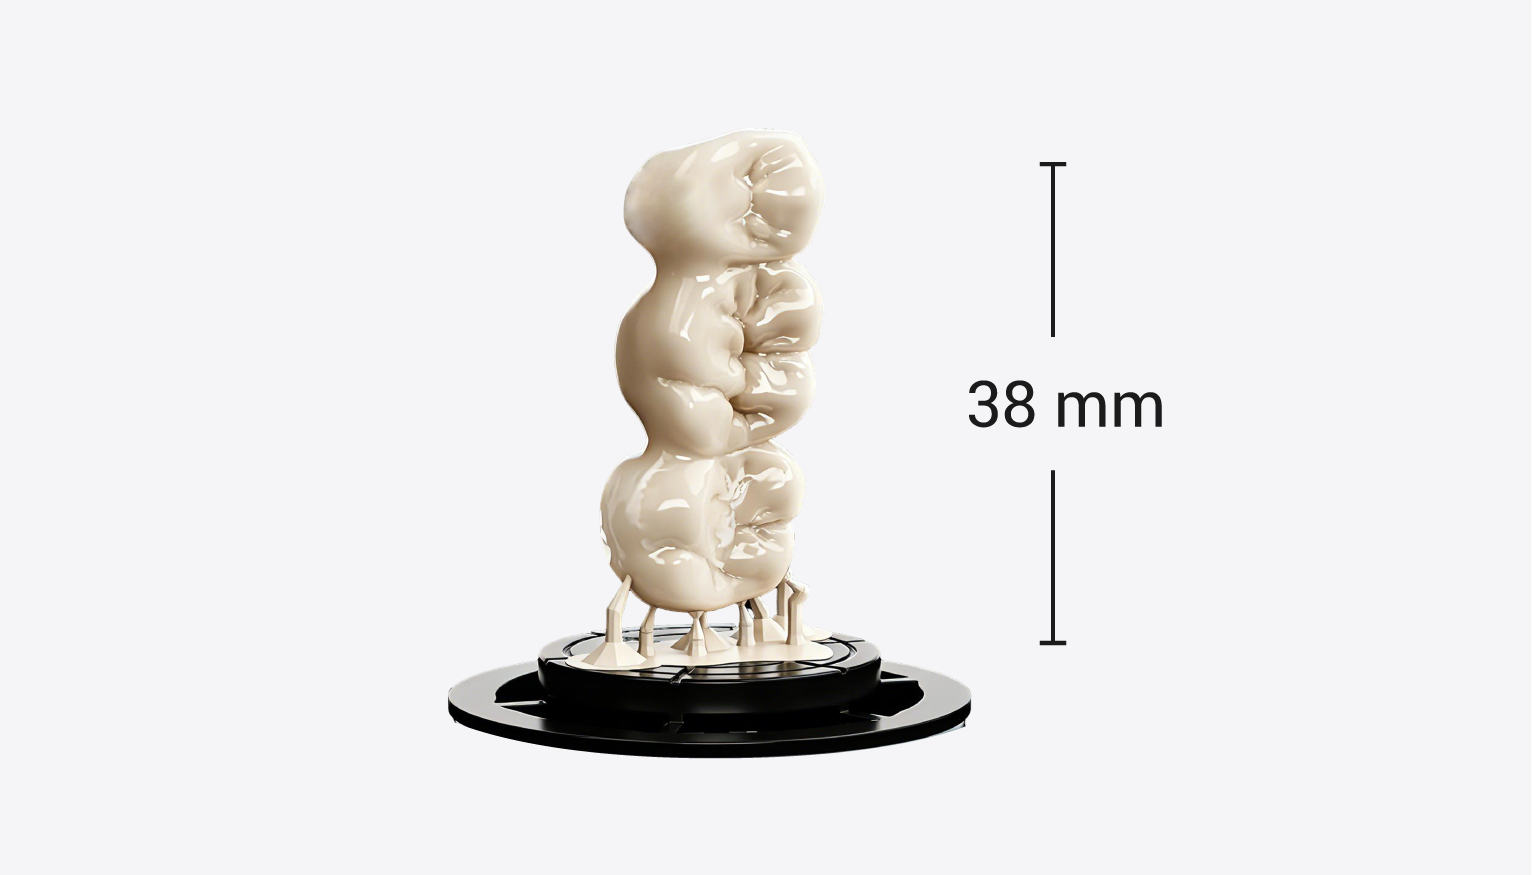
Scan time and post-processing differ. An intraoral scan is usually one operator, one session, then export to CAD and print — fast for same-day try-ins when your lab or chairside printer is ready. Photogrammetry requires careful photo capture, reliable lighting, and a stitching step that benefits from strong computing. Once you have the model, both methods follow the same CAD-to-print path; choice mainly affects front-end time and where errors enter the chain.
Fit, try-ins, and adjustments
Predictable fit comes from consistent capture of tissue compression and bite registration. Intraoral scanners can under-record mobile tissue unless you use controlled retraction and border molding techniques. Photogrammetry avoids some distortion if you use rigid trays or custom markers, but mistakes in reference placement cause whole-arch misalignment. For final fit, expect small relines regardless of capture method; what changes is how often you need them—proper scanning protocol reduces them.
Cost, training, and real-world adoption
Intraoral scanners are an investment but often pay back via chairside workflow and fewer lab steps. Photogrammetry rigs can be cheaper in hardware but demand disciplined capture technique and software expertise. Both need staff training; photogrammetry especially benefits from dedicated capture protocols. Software licensing and data handling add recurring costs; plan budgets around both hardware and people. If you’re scaling, factor in technician time as much as device price.
Common pitfalls and practical tips
Don’t rush capture. For scanners: dry the field, use sequential sweeps, and check margins in real time. For photogrammetry: lock your camera position, use consistent exposure, and add fiducials to edentulous areas. Avoid stitching with too few overlap images and always validate your exported mesh against a known reference. On the print side, orient parts to minimize supports on critical surfaces, and verify polymerization parameters for the chosen resin to avoid shrinkage or unexpected hardness.
Real-world anchor: what I’ve seen work
In private clinics in Mexico City I’ve paired chairside scans with a resin 3d printer dental to produce accurate try-ins the same day; clinicians cut lab back-and-forth and patients leave with a usable fit sooner. That hands-on experience taught me which capture mistakes repeat and which fixes are quick: better retraction, small bite registration blocks, and pre-print mesh checks eliminate most surprises.
When to choose one over the other — quick rules
Choose an intraoral scanner when: you need fast chairside workflows, predictable dentition capture, and fewer setup steps. Choose photogrammetry when: you must capture large full-arch geometry with very high surface detail and you can control references and lighting. Consider a hybrid approach — scan dentition with an IOS and use photogrammetry for edentulous spans when extra detail is essential. Traditional impressions remain a valid fallback for complex soft-tissue borders or when optics fail.
Conclusion
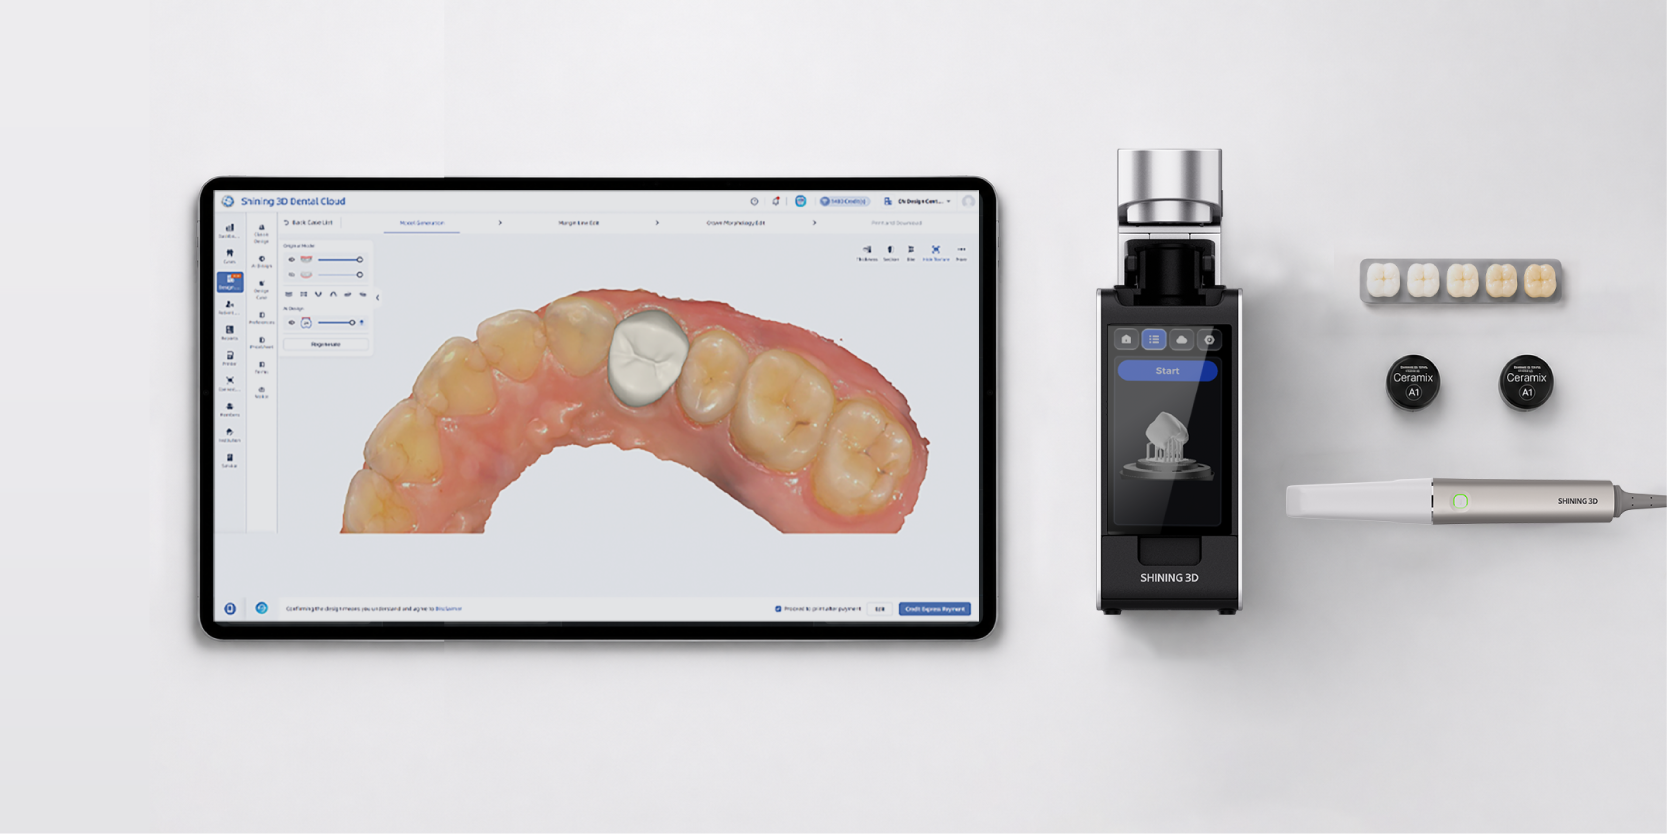
Pick the method that matches the clinical goal, staff skill, and turnaround you need: scanners for speed and routine cases, photogrammetry when precision over large areas is non-negotiable, and hybrids when neither alone is ideal. A stable digital chain — capture, CAD, and reliable printing — makes the final denture predictable, and partners such as SHINING 3D DENTAL fit naturally into that chain by providing hardware and workflows that reduce surprises at the try-in stage.