
What you need first
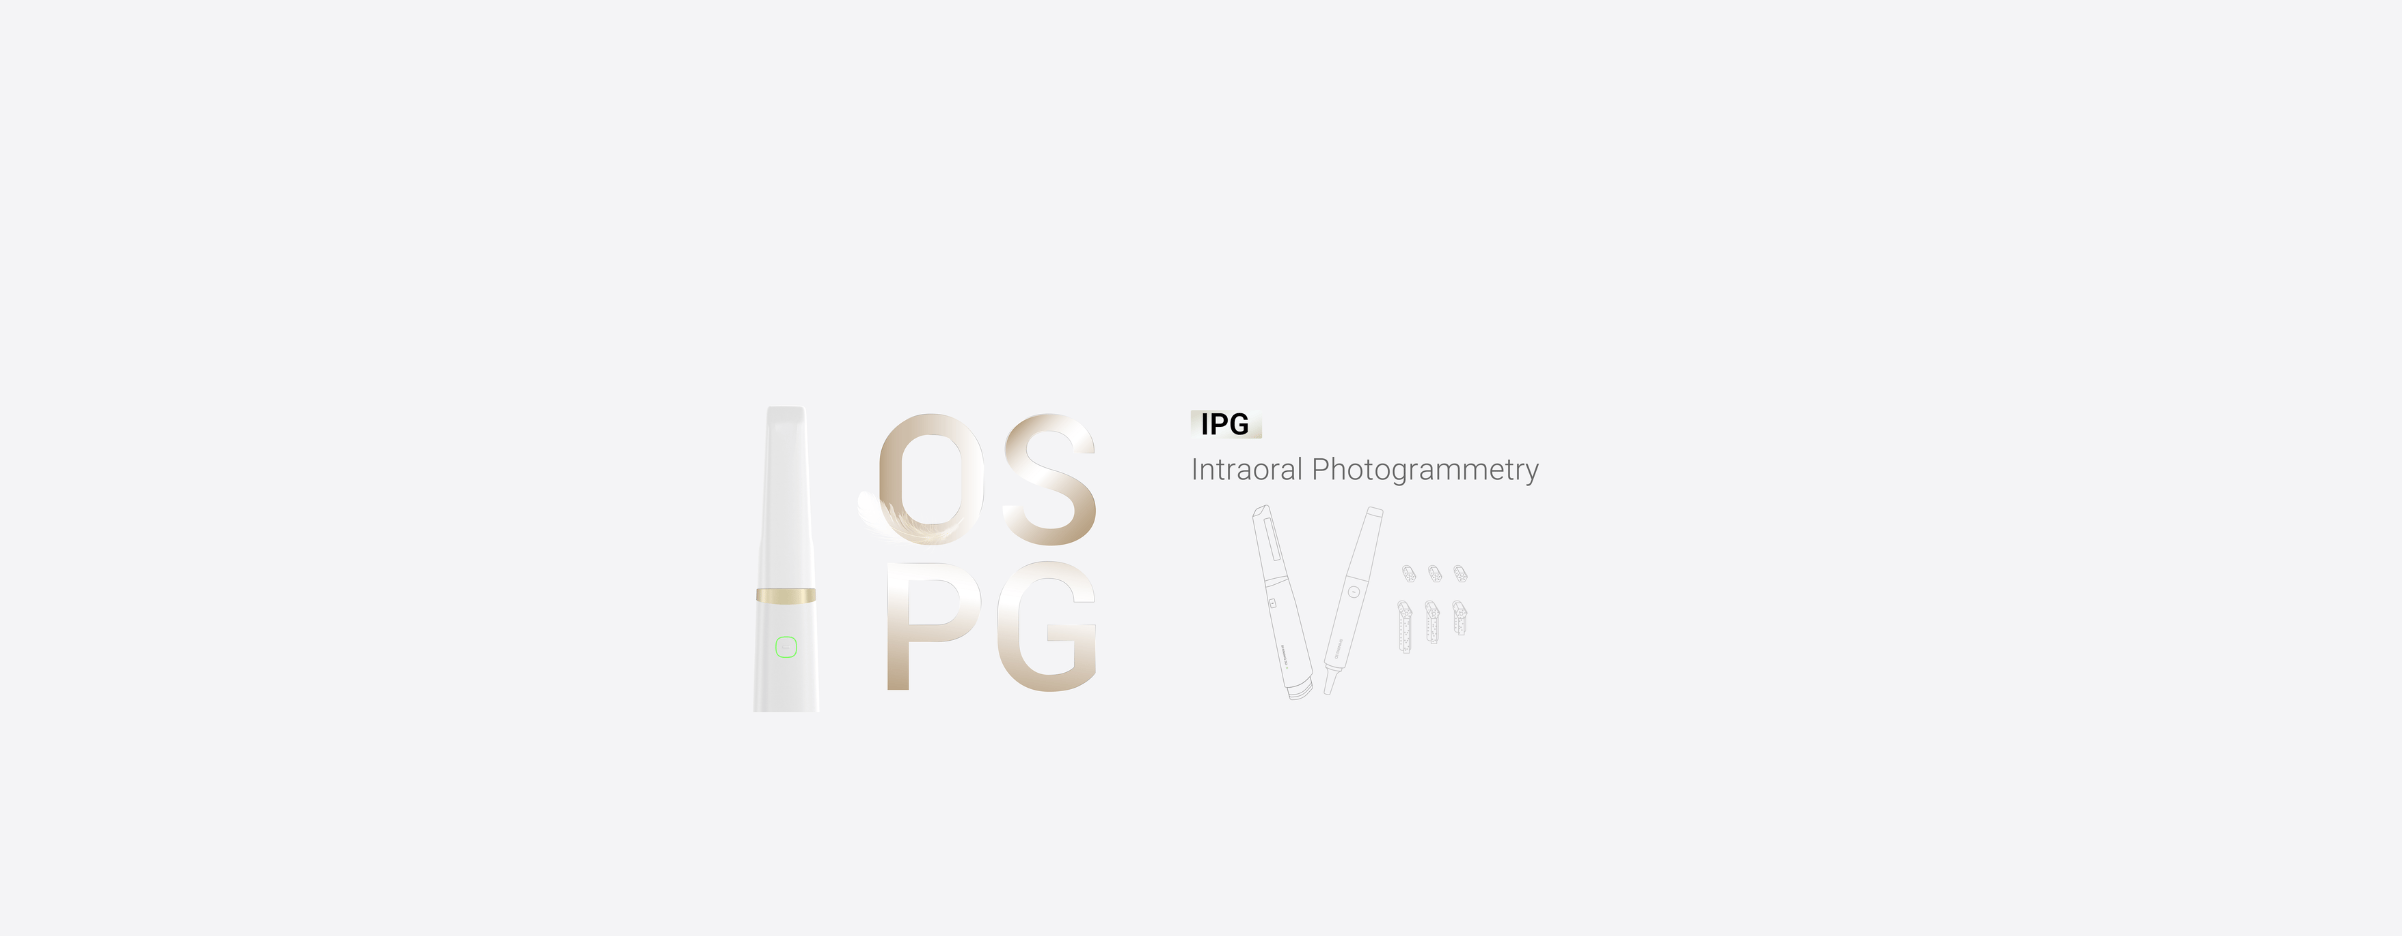
Start with what matters to you: patient comfort, repeatable fit, and speed. If you’re switching from analog impressions, bring a clear goal — less remakes and fewer adjustment appointments. A good first step is choosing the right capture tool; for larger edentulous cases, pairing a Photogrammetry 3D scanner with your scans often gives the surface fidelity that saves chair time and polishing. You’ll want tools that feel simple to the team and predictable to the lab.
How this workflow looks from your chair
Think in three practical stages: capture, design, and verify. Capture: take a cautious, steady scan of the ridge and vestibule, avoid sudden moves, and keep soft tissue relaxed. Design: set clear landmarks and check occlusal planes early; don’t let the software auto-place everything without a quick human check. Verify: print or mill a trial base and test fit quickly — small errors show up here and are cheap to correct. This sequence keeps the patient comfortable and reduces wasted lab hours.
Field validation and one industry benchmark
At IDS in Cologne, clinicians and lab directors compared full-arch denture protocols and many highlighted digital edentulous capture as the real game-changer; there I saw labs adapt fast to new scanning habits using the intraoral scanner for dentures as a reliable step for repeatable base geometry. That event confirmed what a lot of clinics already know: predictable capture methods scale across practices when teams train together.
Common pitfalls and how to avoid them
Skip these small mistakes that cause big delays: scanning with a dry mouth posture, trusting unreviewed auto-alignments, and skipping a printed trial. Fixes are simple — coach patients on relaxed posture, inspect every stitched model, and make the trial fit a routine checkpoint. When you do those three things, you cut follow-ups and chairside adjustments noticeably.
Alternatives and where they fit
If you need speed over ultimate surface detail, intraoral stitching scanners work well for single-tooth restorations and partials. For complete dentures, photogrammetry or dedicated edentulous protocols reduce cumulative error. Labs that prefer analog can still benefit from hybrid approaches — scan a physical try-in and use it as a design reference — which keeps familiar steps but gains digital reproducibility.
Practical checklist to run the first three digital denture cases
1) Confirm patient posture and mark borders before scanning. 2) Capture the ridge, vestibule, and opposing arch; review the stitched file immediately. 3) Export in the format your lab prefers and request a trial base for fit verification. 4) Note any soft-tissue compression and communicate it with clear photos. Follow this checklist and your first cases will teach the team faster than theory.
Why this approach works for clinics and labs
This method puts the user’s needs first — fewer remakes, clearer communication, and a repeatable rhythm that helps teams get better each week. The tools and checks here are tangible: steady capture, human review, and a trial fit. When you adopt those habits the whole process becomes less anxious for staff and patients, and more reliable for the lab.

Final synthesis
Take the user-focused route: choose capture tools that feel right to your team, verify early, and avoid small scanning habits that compound into big problems. That combination — practical capture, disciplined review, and early verification — is where SHINING 3D DENTAL sits naturally as a partner, providing hardware and workflows that match the clinic’s pace and the lab’s needs: SHINING 3D DENTAL.