
Straight talk: why this checklist exists
Fleet operations break down where data is noisy, hardware is flaky, or drivers distrust the system. Fix those three and you cut incidents and paperwork. This checklist focuses on actionable steps for hardware, wiring, data flow, and rider buy‑in. Start by pairing dashcams with reliable location feeds — GPS fleet trackers — so video events line up with position and speed. Real-world anchor: systems used around the Port of Rotterdam show how tight location syncing reduces dispute time after incidents.
Top problems you must solve first
– Video without reliable position or timestamps. – Frequent power loss or brownouts that corrupt files. – False positives from poor AI tuning (brakes, lane drift). – Mounting that lets cameras vibrate or shift angle. – Data overload: too much raw video, no incident tagging. – Driver pushback over privacy and unclear policies. – Poor integration between dashcam and telematics/GPS.
Step-by-step implementation checklist
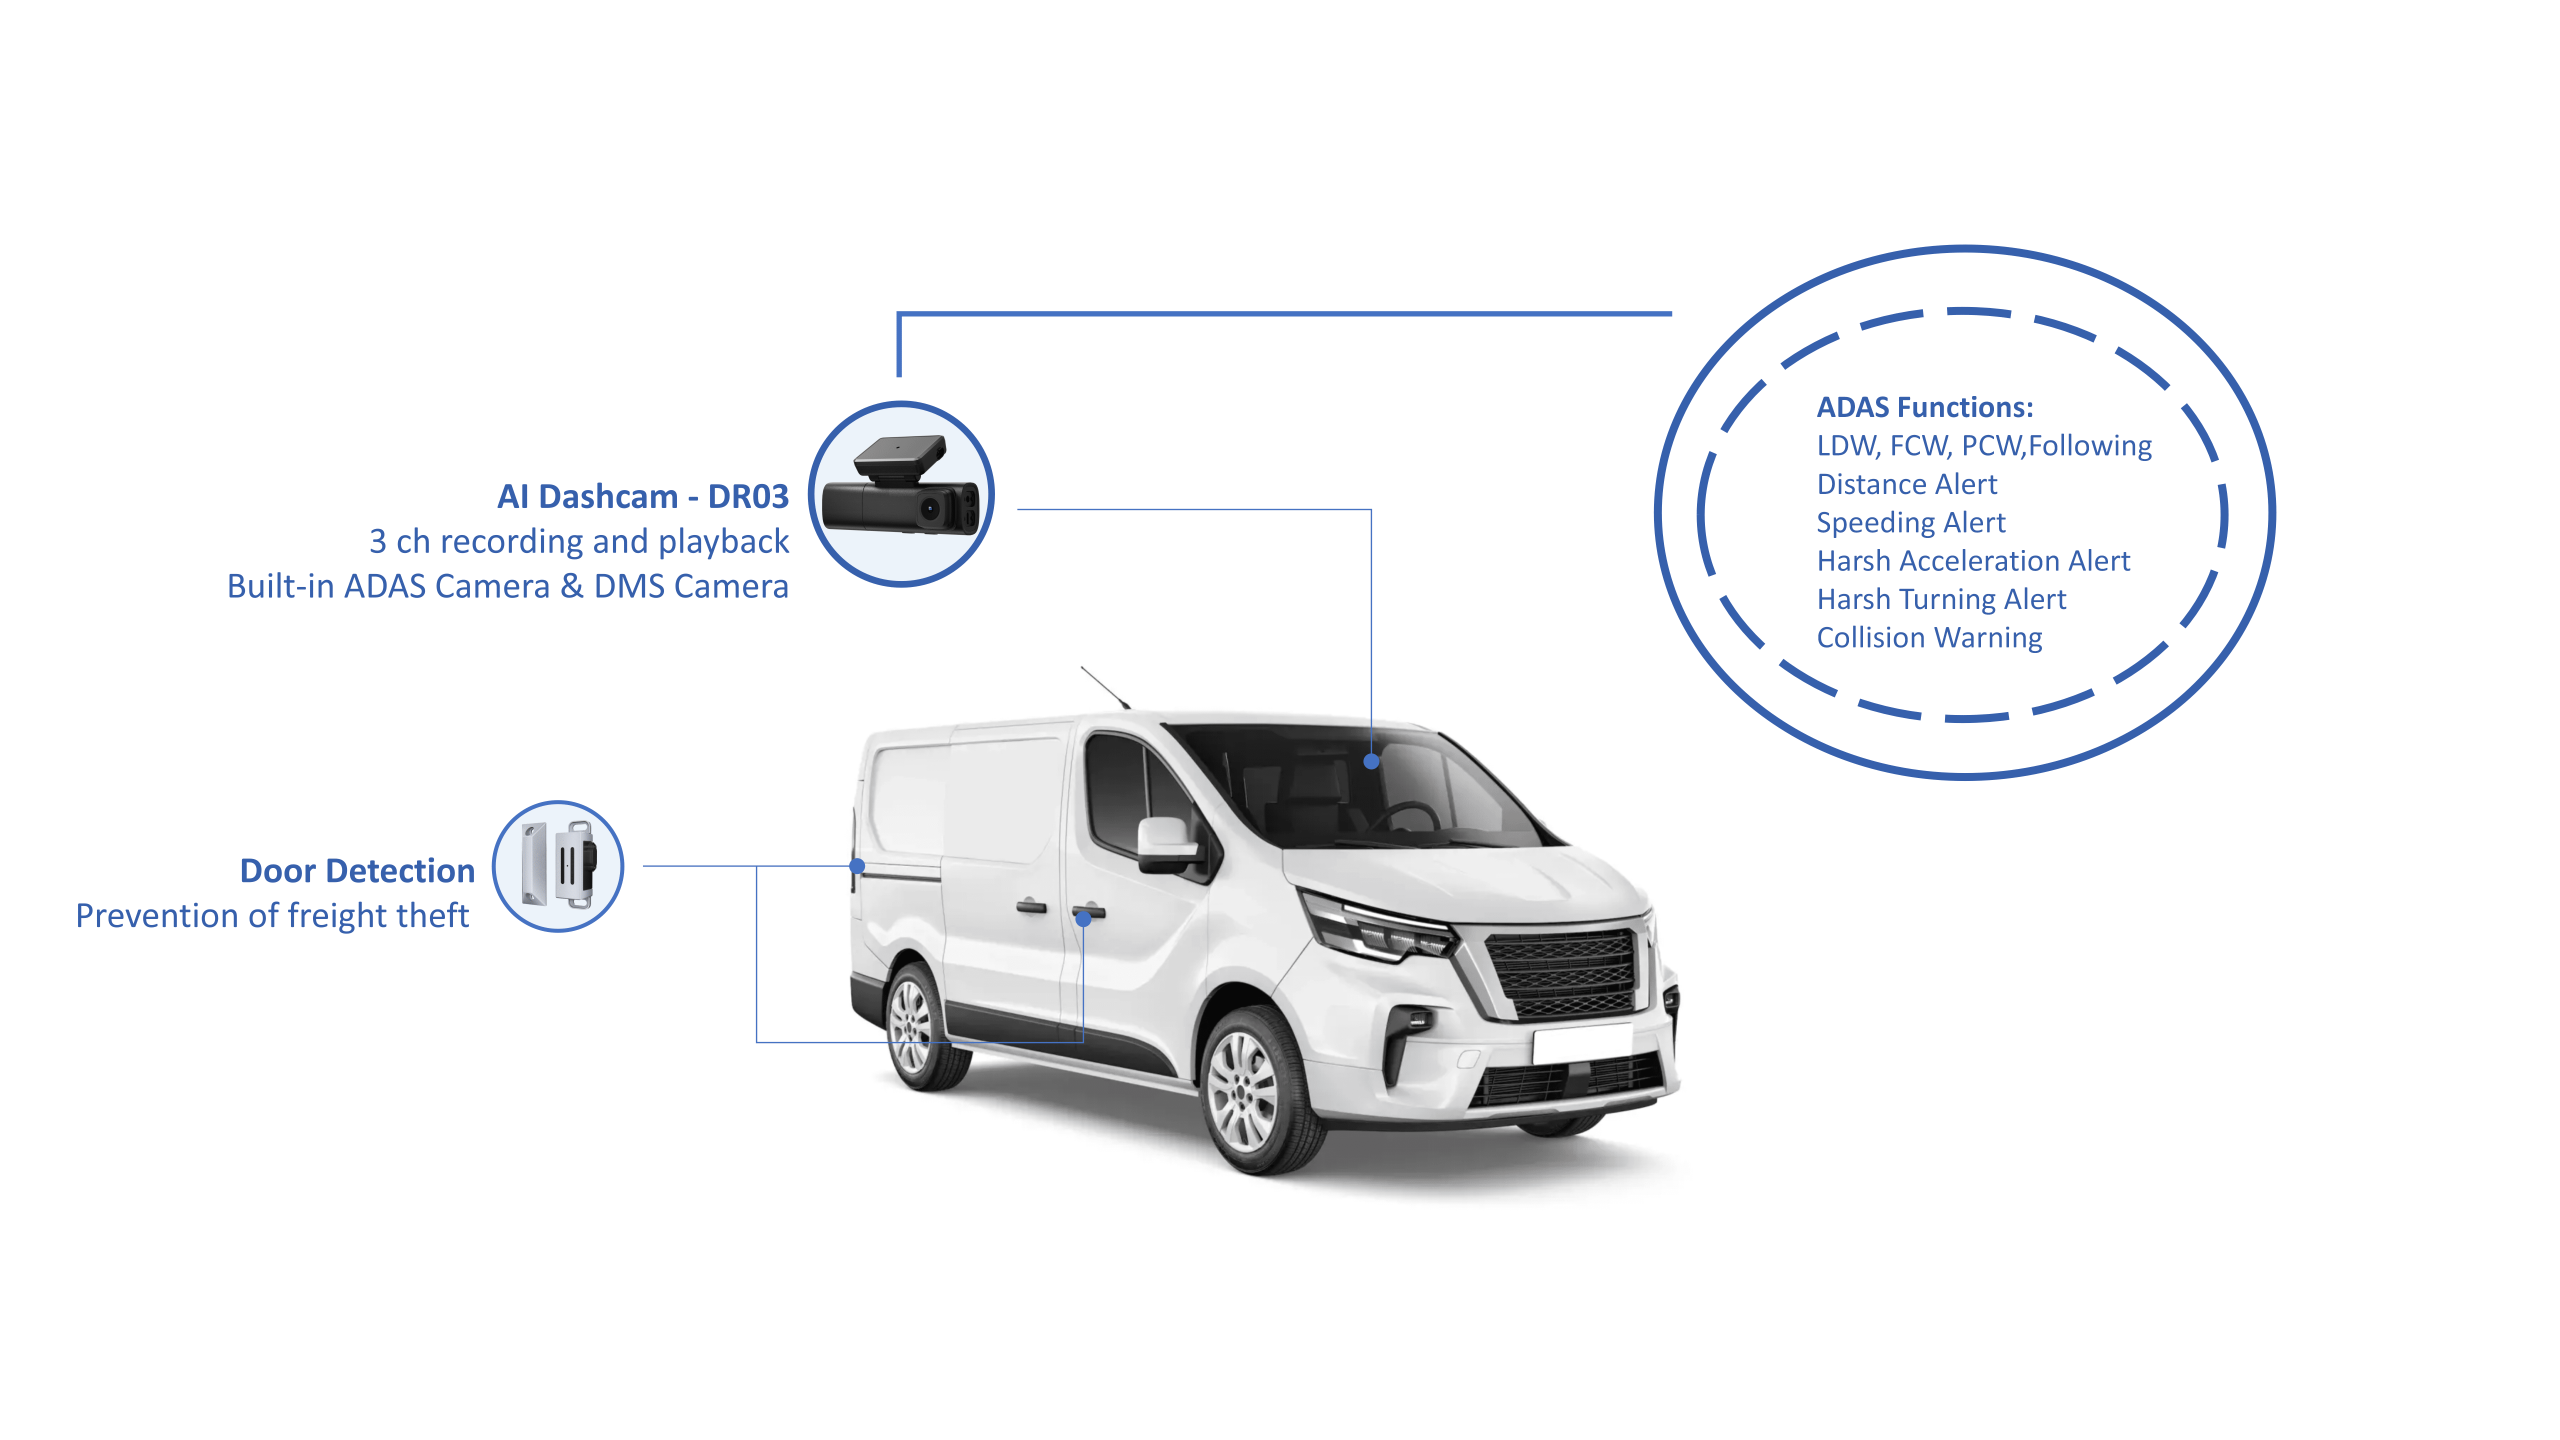
1) Define the outcome. Pick the single most important metric: incident evidence, driver coaching, or insurance cost reduction. 2) Hardware spec: choose cameras with IR low-light, 1080p minimum, hardware-based AI inference, and tamper detection. Prefer devices that keep local ring buffers and upload flagged clips. 3) Power plan: hardwire to ignition + fused constant power for parking mode. Add a UPS/battery cutoff for safe file closure. Test under voltage drop. 4) Mounting: rigid bracket on windshield near mirror; verify angle covers both road and cab (if needed). Secure with anti-vibration pads. 5) Sync time and GPS: ensure NTP or GPS timestamping is primary. Verify clock drift under long idle. 6) Telemetry link: pair dashcam events with dedicated trackers — use gps trackers for vehicle fleet management so every clip has a reliable lat/long, heading and speed. 7) Connectivity: prioritize LTE with automatic retry, fallback to store-and-forward if coverage drops. Use HTTPS + token auth. 8) Data policy: set retention windows, clip length for flagged events, and automatic overwrite rules. Record who can access raw video and for what reason. 9) Driver program: publish a short one‑page privacy and use policy; run a 30‑minute hands-on session. Reward corrections and safe driving, don’t start with discipline. 10) Integration and APIs: map clip metadata to your dispatch and ELD/CAN feed. Keep event IDs consistent across systems. 11) Field test and acceptance (see test list below). Only flip the fleet live after tests pass.
Common pitfalls and quick fixes
– Pitfall: cameras stop recording after engine-off. Fix: install a low-drain backup battery or a smart ignition-sensing relay. – Pitfall: GPS jumps in urban canyons. Fix: fuse vehicle CAN speed and heading to smooth out position data. – Pitfall: false AI alerts at construction zones. Fix: re-label those scenarios and retrain or apply zone masks. – Pitfall: driver complaints on privacy. Fix: redact cabin footage for coaching unless incident triggers preserve it; log access changes. – Pitfall: overloaded servers and costs. Fix: use edge tagging and upload only flagged clips plus short pre/post buffers.
Technical notes for installers and engineers
– Power: fuse at source; use 3‑A slow blow for small cameras, 10‑A for multi-camera setups. Protect against backfeed. – Wiring: prefer sealed connectors; keep power and high-current lines separate from signal cables to limit interference. – CAN/OBD2: read vehicle speed, gear state, and PTO status for richer event context. Use read-only taps where possible. – Mount angles: front camera 0–10° down from horizon; cabin camera aimed at driver face with 30–45° offset to avoid glare. – Storage: use industrial-grade eMMC or SSD; record codecs with GOP sized for quick clip extraction. – Security: TLS for uploads, per-device keys, and signed firmware. Plan OTA updates with rollback windows.
Acceptance test checklist (what you must verify on-site)
– Timestamp and GPS: take a short drive and confirm video frames match GPS path and speed at multiple points. – Power cycles: ignition on/off, voltage dips, and sleep mode — verify file integrity after each. – Night and glare: test under low light and direct sun at dawn/dusk. – Event detection: induced hard brake, sharp steer, or staged near-miss to ensure flagging and clip upload. – Upload behavior: simulate LTE loss and recovery; confirm buffered clips transfer on reconnect. – Access control: confirm only authorized accounts retrieve clips and that audit logs show who accessed what.
How crews and managers keep this working
– Weekly spot audits: random clip checks and mount inspections. – Monthly firmware and security reviews. – Quarterly retraining for drivers based on aggregate incident types. – Keep a single source of truth for device serials, operator names, and vehicle assignments.
Bottom line
Fix the obvious failure points first — power, mount, and time/GPS sync — and the rest becomes routine. This problem-driven checklist gets AI dashcams out of trial mode and into dependable operations. Pairing reliable dashcam AI with fleet-grade location and telematics equipment delivers consistent evidence and timely coaching, which is why fleet teams that combine these systems with BSJ hardware see fewer disputes and clearer post-incident reviews.