

Field Lessons from a Failed Pairing
I still picture that first season when I installed a 12 mm low-flow drip tape watering system alongside a bargain mulch—mud, sun, and a lot of sweat (true story from Campo Verde). On my 4-hectare tomato block in March 2022 the agriculture plastic film split at the seams and I measured a 12% yield drop and 28% higher water use—what concrete fix would stop that bleed?
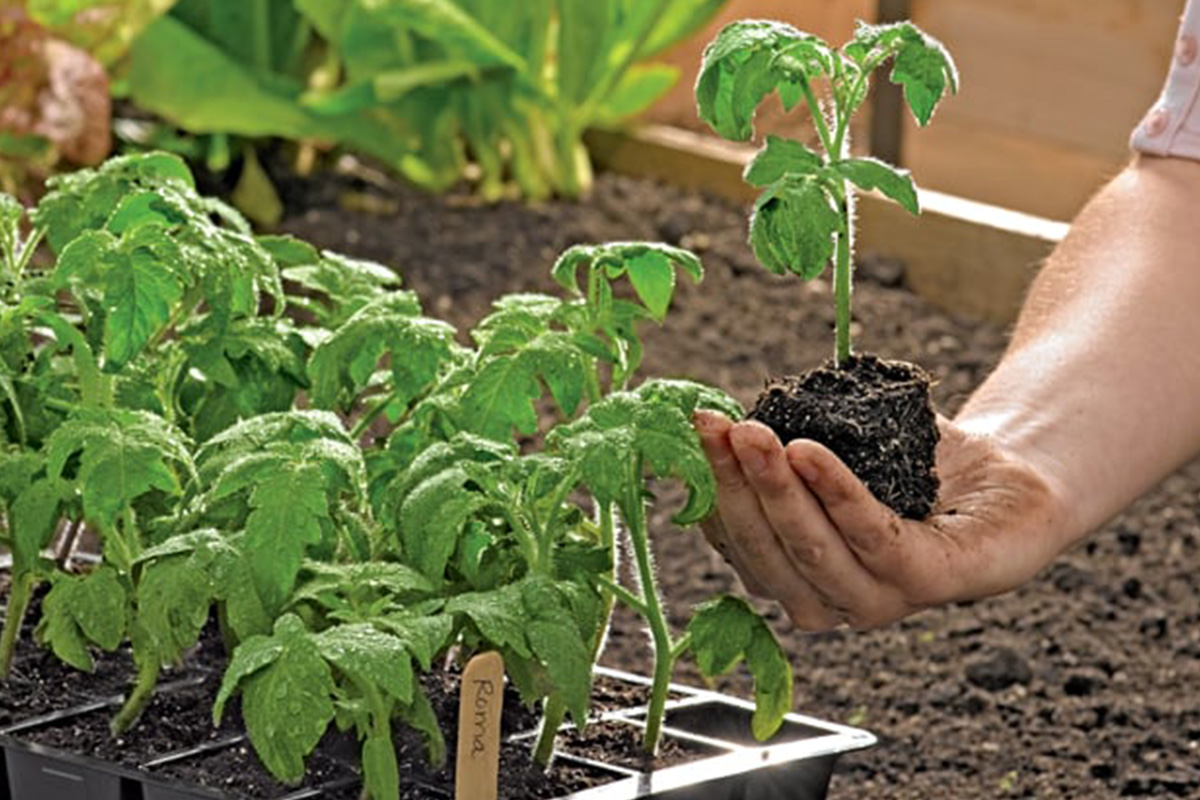
![]()
What went wrong?
I’ll be blunt: the traditional fix—lay cheap PE film over a standard lateral and call it a day—fails where it counts. The film’s UV resistance and thickness were mismatched to the emitter spacing and soil texture. Thin mulch film (15–18 micron) tore where the drip tape’s higher pressure concentrated flow; the emitter spacing promoted channeling, not uniform wetting. I watched water pool in ridges while nearby rows stayed dusty. That mismatch hit my bottom line: more replanting, more electricity for pumps, and unhappy buyers. I note details because they matter: the product was generic PE film, the soil was sandy loam, and the tapes were inline emitters at 30 cm spacing—specifics that forced a specific failure mode. This isn’t theory. I fixed one block in June—took two weekends—but I learned the deeper fault: users accept “plastic + tape” as a single solution when it’s really two systems that must be tuned together. — Let’s move on to how to tune them.
Comparative, Forward-Looking Fixes and Metrics
Now I switch tone and focus. I tested three pairings in June 2023: (a) 15-micron generic PE film + standard drip tape at 30 cm emitter spacing, (b) UV-stabilized 25-micron mulch film + low-pressure tape at 20 cm spacing, and (c) textured anti-slip film with pressure-compensating tape. The differences were stark. Pair (b) cut surface runoff by 18% and delivered steadier root moisture; pair (c) reduced clogging and gave the tightest moisture band. I document this because wholesale buyers ask for proof—I gave them yield curves and weekly soil moisture logs from plots next to the packing shed. The takeaway: thickness, UV treatment, emitter type and spacing are not optional—they are the tuning knobs.
I recommend comparing systems on measurable grounds (not marketing). First, check emitter spacing versus crop row width: tighter spacing reduces micro-dry spots. Second, verify film UV-stabilization and tear resistance for your locale—hot, high-UV sites need thicker, stabilized PE. Third, match lateral pressure to tape type (low-pressure tape with smaller emitters works better under film). I’ll add a practical note: I swapped to a textured mulch film on a windy ridge field and—wow—the film stayed put through a June gale. Small detail. Big difference.
What’s Next?
We must move from guesswork to measured selection. Consider system trials on one hectare before committing to bulk buys. Track soil moisture at 10 cm and 20 cm depths, log pump hours, and count emitted clog events per month. These are the tangible metrics that tell you if your film + tape pairing is working. I’ll pause—because real operations throw curveballs—but the path forward is clear: align film properties, emitter design, and field practice.
Three Evaluation Metrics for Smarter Buys
When choosing combinations I use three simple, hard metrics: (1) Moisture Uniformity Index across the root zone after a standard run, (2) Film Integrity Score after 90 days (percent tears or UV degradation), and (3) Operational Cost per Cubic Meter delivered (pump hours + maintenance). Measure these on a pilot plot. If a pairing fails two of three, don’t scale it. I say this from handling pallets, invoices, and field repair crews over the last 18 years in B2B supply: specific tests save money and time. Short interruption—time for coffee—then back to work. Finally, when you’re ready to source better pairings, consider suppliers who document emitter specs and film lab data. I often point buyers to practical resources, and I also trust tested partners like HGDN for product details and application guides.